HowtoApplyBlushforaNatural,LiftedGlowin2026
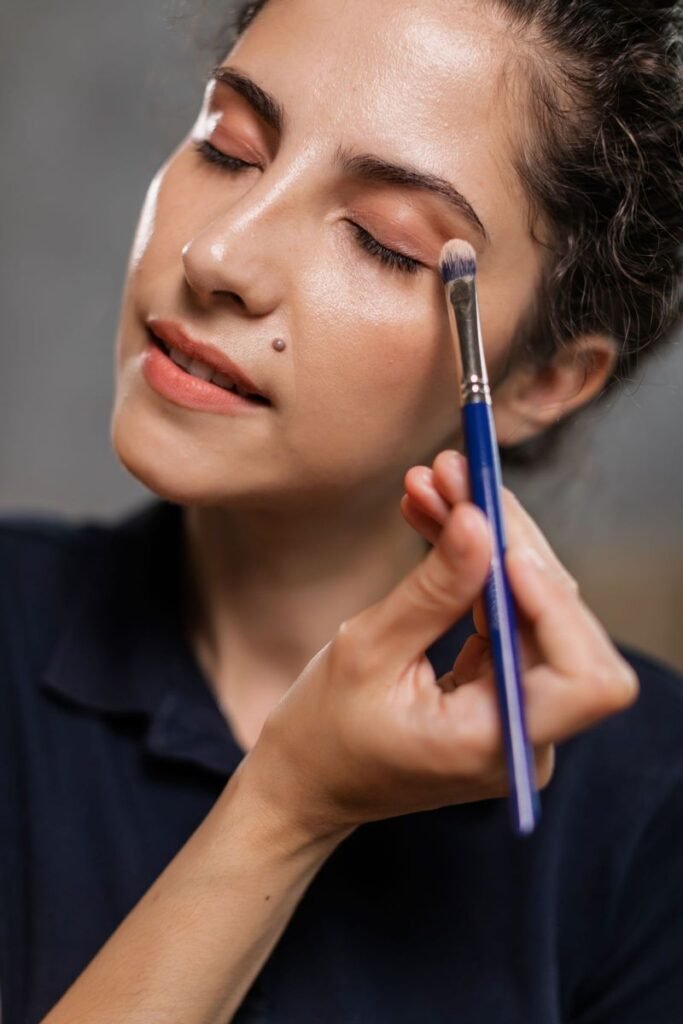
Table of Contents
Blush is the quickest way to make your face look awake, healthy and lifted — yet it is also the product most of us get wrong. Too much, and you look flushed; too little, and it disappears by lunchtime; placed in the wrong spot, and it drags your face down instead of lifting it. A natural, glowing blush is about choosing the right formula for your skin, picking a shade that flatters your tone, and placing it where your face naturally lifts. This guide covers formula, shade, placement, layering and the mistakes to avoid.
Key Takeaways
- Pick the formula for your skin type: powder for oily skin, cream and liquid for dry and mature skin.
- Match the shade to your skin tone: soft pinks for fair skin, peach and rose for light to medium skin, berry and terracotta for deep skin.
- Place blush on the apples and sweep upward toward the temples for a lifted look.
- Cream goes before powder: apply cream or liquid blush before setting powder, never after.
- Layer cream under powder for colour that lasts from morning to evening.
In This Article
- Choosing the Right Blush Formula for Your Skin Type
- How to Choose a Blush Shade for Your Skin Tone
- The Tools You Need to Apply Blush
- How to Apply Blush Step by Step
- Blush Placement by Face Shape
- Where Blush Sits in Your Makeup Routine
- How to Layer Blush for All-Day Wear
- Common Blush Mistakes to Avoid
- Frequently Asked Questions
Choosing the Right Blush Formula for Your Skin Type
Blush comes in three main formulas — powder, cream and liquid — and the one that looks best on you depends mostly on your skin type and the finish you want.
Powder blush is the classic choice and the easiest for beginners. It blends smoothly over foundation and setting powder, gives a soft matte or satin finish, and is the most forgiving if you apply too much. It suits oily and combination skin best, since it helps absorb shine. A well-loved powder option is NARS Orgasm, a peachy-pink with a fine golden shimmer, typically from around £25. Boots No7 also makes reliable powder blushers, typically from around £10.
Cream blush melts into the skin and leaves a dewy, skin-like glow that powder cannot match. It suits dry or mature skin best, because it does not settle into fine lines or cling to dry patches. It works beautifully on bare skin or over a light, dewy base. The e.l.f. Camo Liquid Blush is a popular affordable option, typically from around £7.
Liquid blush is the most pigmented and the most long-wearing of the three. A drop or two gives a sheer wash of colour, while a little more builds to a bold, statement cheek. They suit most skin types, but set quickly, so blend fast with your fingers or a damp sponge. Rare Beauty Soft Pinch Liquid Blush, typically from around £20, is known for its intense pigment — a single dot goes a long way.
If you are unsure where to start, choose powder for oily skin, cream for dry skin, and liquid for maximum staying power.
How to Choose a Blush Shade for Your Skin Tone
Your natural flush is the best guide to your blush shade. Pinch your cheek gently and look at the colour that appears — that is close to your ideal blush tone.
Fair skin: soft pink, light peach and baby pink flatter fair skin without looking harsh. Avoid dark or very bright shades, which can look heavy. Try a soft pink such as NARS Orgasm or a light peach cream blush for a natural flush.
Light to medium skin: peach, rose and warm pink are the most flattering shades for light and medium skin tones. A warm peach blush brightens the face, while a classic rose gives a healthy, natural glow. Coral also works well if your undertone is warm.
Medium to deep skin: berry, mauve and terracotta shades show up beautifully on medium and deep skin. Rich plum and warm terracotta add depth without looking muddy. Bright pinks also work, because deeper skin can carry stronger colour.
Deep skin: deep berry, rich plum, burnt orange and terracotta give deep skin a radiant glow. Avoid pale or chalky shades, which can look ashy. A rich berry cream blush melted into the cheeks looks especially natural.
Undertone matters too. If your veins look blue, you likely have a cool undertone and suit pink and berry shades. If they look green, you have a warm undertone and suit peach, coral and terracotta. If you cannot tell, you are probably neutral and can wear most shades.
The Tools You Need to Apply Blush
The right tool makes blending easier and stops blush from looking patchy.
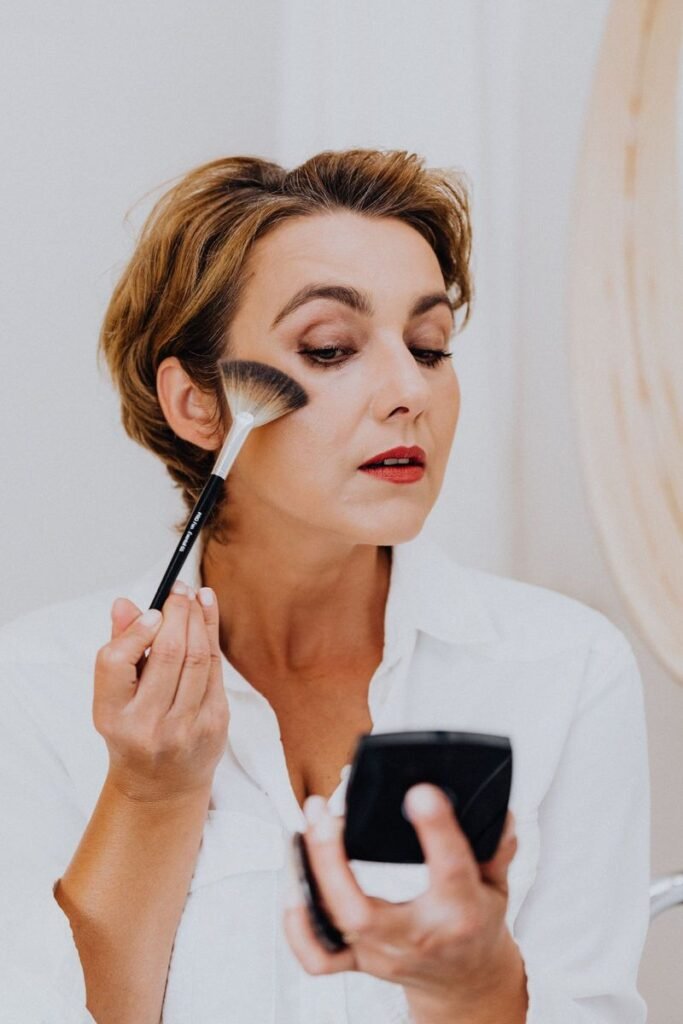
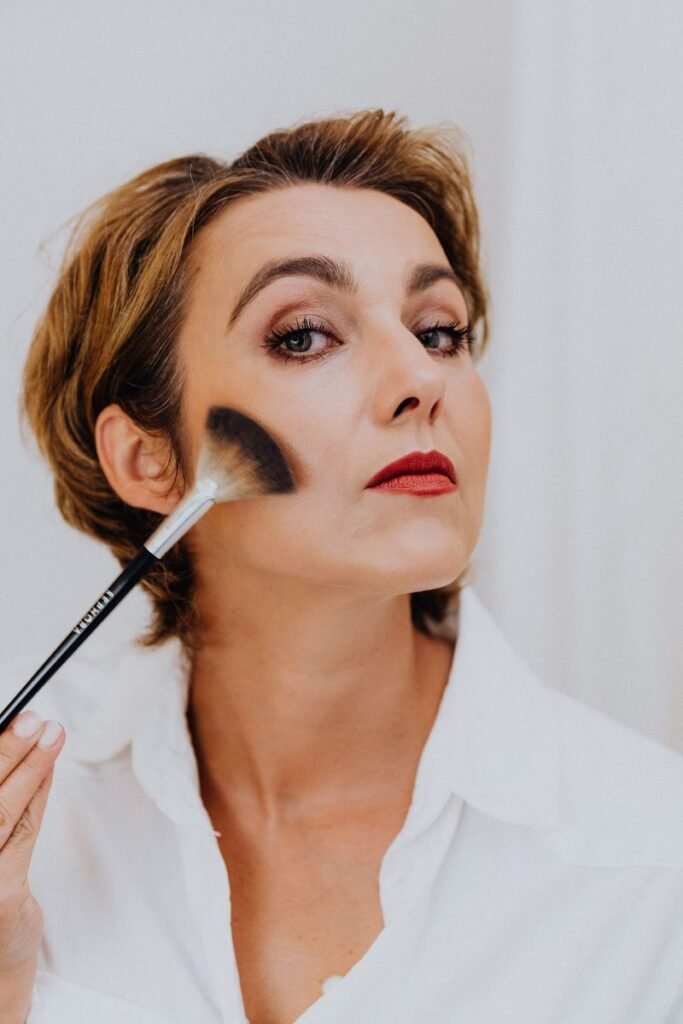
A fluffy blush brush is the most versatile tool for powder blush. Look for a soft, medium-sized brush that picks up colour evenly and blends without leaving hard edges. Use light, sweeping strokes and build slowly.
A stippling brush works well for cream and liquid blush. Its duo-fibre bristles press colour into the skin without moving your base underneath, giving an airbrushed finish.
Your fingertips are the best tool for cream and liquid blush on the go. Warm the product between your fingers, tap it onto the apples of your cheeks, and blend upward with light tapping motions. The warmth of your skin melts the product in for a natural finish.
A damp makeup sponge gives the softest, most diffused finish for any formula. Use it to press blush into the skin and to soften the edges if you have applied too much.
How to Apply Blush Step by Step
The exact steps depend on the formula you are using, but the goal is always the same: a soft wash of colour that looks like it comes from within.
Powder Blush
- Finish your base first — foundation, concealer and a light dusting of setting powder.
- Swirl a fluffy brush lightly over the blush, then tap off the excess on the back of your hand.
- Smile gently to find the apples of your cheeks, and sweep the blush upward toward your temples.
- Blend the edges with clean, circular motions so there is no visible line.
- Add a second light layer if you want more colour, rather than pressing hard on the first pass.
For more on building a balanced base, see our guide to how to apply bronzer.
Cream Blush
- Apply your base first, but skip setting powder for now.
- Warm a small amount of cream blush between your fingertips, or dab it directly onto the apples of your cheeks.
- Tap and blend upward toward your temples using your fingers or a stippling brush.
- Build in thin layers — cream blush is easy to overdo, so start with less than you think you need.
- Set the look with a light dusting of translucent powder or a matching powder blush if you want extra staying power.
For tips on getting your base right first, see our concealer tips.
Liquid Blush
- Place a single dot of liquid blush on the back of your hand first, so you control how much you use.
- Pick up a small amount on your fingertips or a damp sponge and dot it onto the apples of your cheeks.
- Blend upward and outward quickly, before the product sets.
- Add a second dot only if you want more colour — liquid blush builds fast.
Liquid blush also doubles as a lip tint in a pinch: press a tiny amount onto your lips and blend for a matching, monochrome finish.
Blush Placement by Face Shape
Where you place blush changes the shape of your face, so it helps to adjust for your face shape.
Round face: apply blush slightly higher on the cheekbones and sweep it upward toward the temples, rather than on the apples. This creates length and definition.
Oval face: you can wear blush almost anywhere. Place it on the apples of your cheeks and blend upward for a classic, lifted look.
Square face: soften a strong jawline by placing blush on the apples of your cheeks and blending in soft, circular motions, keeping the colour away from the jaw.
Heart-shaped face: apply blush just below the apples of your cheeks and blend outward toward the ears. This balances a wider forehead and a narrower chin.
Long face: place blush on the apples of your cheeks and blend outward horizontally, toward your ears. Avoid sweeping upward, which can make the face look longer.
Where Blush Sits in Your Makeup Routine
Blush goes on after foundation and concealer, and the order depends on the formula. Apply cream or liquid blush before any powder products, including setting powder. Once you have powdered your face, use powder blush on top. Applying cream blush over powder looks patchy and is hard to blend.
Mascara, eyeliner and lipstick come after blush, so you can judge how much colour your face needs as a whole. If your eye makeup is bold, keep blush soft; if your eyes are minimal, a brighter cheek can carry the look.
If you wear blush on bare skin, the order is simpler: moisturiser, sunscreen, then cream or liquid blush, blended with your fingers. For the rest of your face routine, see our how to apply lip liner guide.
Related: if you love a soft, glowing finish, our lip gloss guide pairs perfectly with a natural blush look.
How to Layer Blush for All-Day Wear
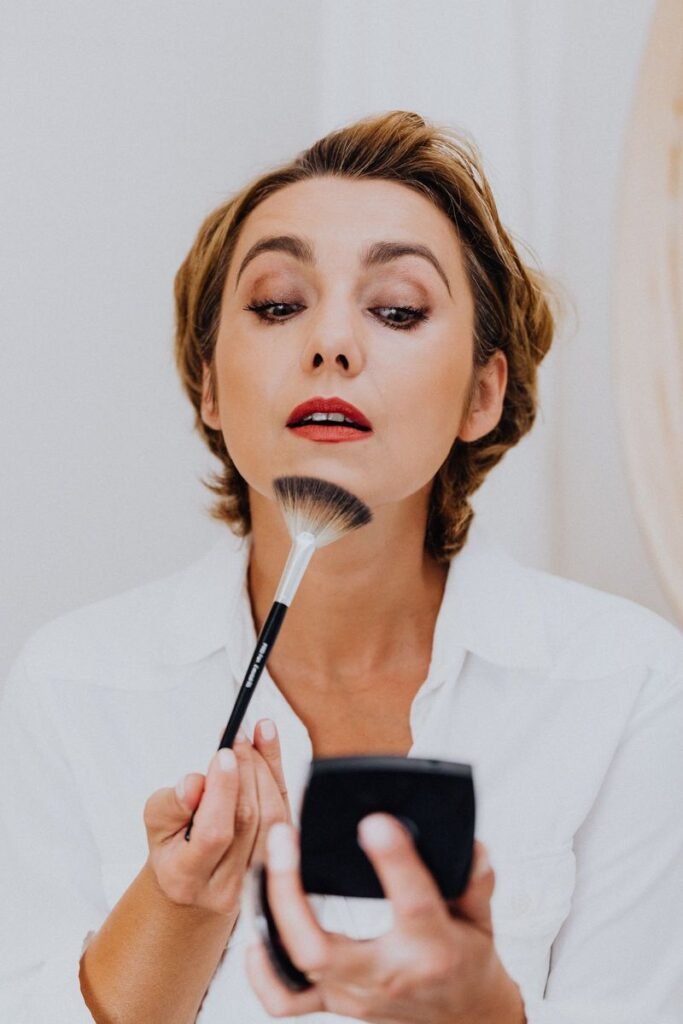
One layer of blush rarely lasts all day. Layering cream under powder is the trick makeup artists use for colour that stays put from morning to evening.
Start with a cream or liquid blush on bare or lightly based skin, and blend it well. Then apply a light layer of matching powder blush on top. The powder sets the cream and adds depth, while the cream underneath keeps the colour looking fresh and skin-like. Finish with a light mist of setting spray to lock everything in place.
For more inspiration on blush looks and placement, see the Sephora UK blusher guide, which shows how beauty advisors apply blusher for different effects.
Common Blush Mistakes to Avoid
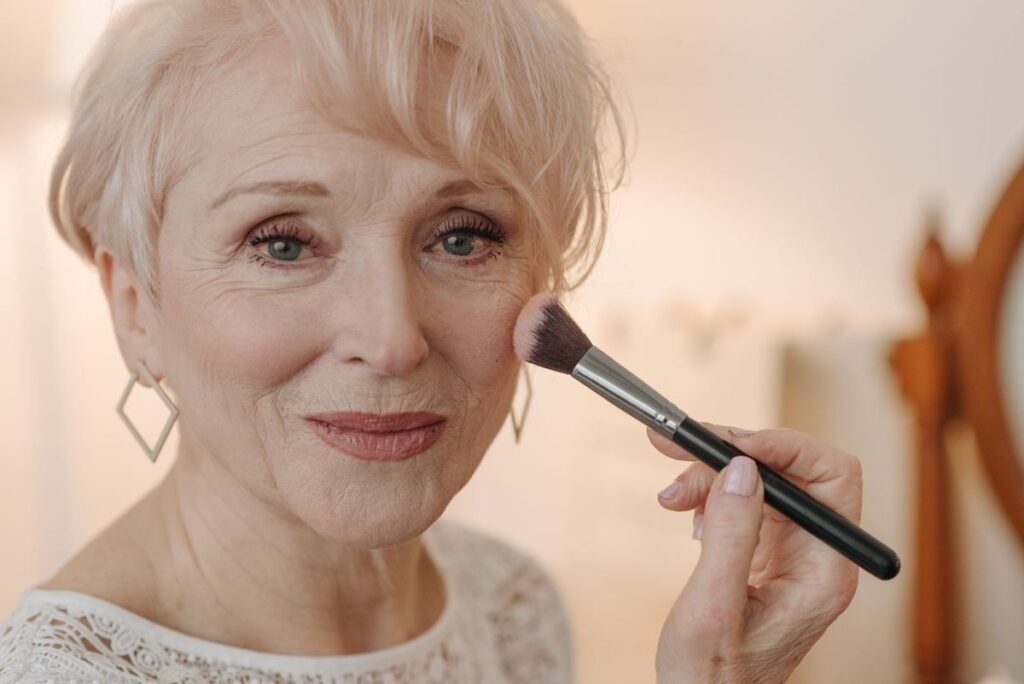
Applying blush too low: placing blush on the lower cheeks or near the jawline drags the face down. Keep the colour on the apples and cheekbones, and blend upward.
Using too much product: blush should look like a flush, not a stripe. Start with a small amount and build slowly. If you overdo it, soften the edges with a clean brush or a damp sponge.
Choosing the wrong shade: a shade that is too dark or too bright for your skin tone can look harsh. If in doubt, choose a shade close to your natural flush — soft pink, peach or rose are safe starting points.
Applying cream blush over powder: cream products do not blend over powder and can look patchy. Always apply cream or liquid blush before setting powder.
Skipping blending: unblended blush leaves visible edges and harsh lines. Take an extra minute to blend the edges with a clean brush or sponge until the colour fades softly into the skin.
Forgetting your skin tone: the same blush looks different on every skin tone. Test a shade on your cheek, not on your hand, and check it in natural light before committing.
For more practical advice on blush application, the Avon UK blush guide is a useful read.
Frequently Asked Questions
Where should I apply blush for a lifted look?
Apply blush on the apples of your cheeks and sweep it upward toward your temples. This lifts the face and gives a fresh, youthful glow. Avoid placing blush low on the cheeks, which can drag the face down.
Should I use cream or powder blush?
It depends on your skin type. Powder blush suits oily and combination skin and is the easiest for beginners. Cream and liquid blush suit dry and mature skin, giving a dewy, natural finish. You can also layer cream under powder for longer wear.
What is the best blush colour for fair skin?
Soft pink, light peach and baby pink are the most flattering blush colours for fair skin. They give a natural flush without looking heavy. Avoid dark or very bright shades, which can look harsh on fair skin.
How do I stop blush from looking patchy?
Start with a small amount and blend well. Cream blush should go on before powder, never after. Use a damp sponge or a clean fluffy brush to soften the edges, and build colour in thin layers rather than applying a lot at once.
Can I wear blush without foundation?
Yes. Cream and liquid blush look lovely on bare skin and give a natural, healthy flush. Apply a small amount to the apples of your cheeks, blend upward with your fingers, and set with a light dusting of translucent powder if you want it to last.
Where does blush go in my makeup routine?
Blush goes on after foundation and concealer. Apply cream or liquid blush before setting powder, and powder blush after setting powder. Mascara, eyeliner and lipstick come last, so you can balance the whole look.
How do I make blush last all day?
Layer cream blush under a matching powder blush, then finish with a light mist of setting spray. This locks the colour in place and keeps it looking fresh from morning to evening.
What is the difference between blush and bronzer?
Blush adds colour and a healthy flush to the apples of your cheeks, while bronzer adds warmth and definition to the areas where the sun naturally hits, such as the forehead, cheekbones and jawline. Used together, they give the face dimension and a natural glow.
The Business Outstanders editorial team writes practical beauty and fashion guides for readers across the UK, US and Canada. Every guide is researched against current UK retailer and beauty guidance and updated regularly so the advice stays accurate and useful.