HowtoApplyLipLinerLikeaProin2026:AStep-by-StepGuide
Table of Contents
Lip liner is the small step that makes the biggest difference to a lip look. It stops lipstick bleeding into fine lines, defines a shape that lipstick alone tends to blur, and makes colour last hours longer. Yet it is also the step most people skip, usually because of one bad memory: a dark, obvious ring around the lips that belonged firmly in another decade.
Modern lip liner is nothing like that. Used well, it should be almost invisible as a separate product — it simply makes your lips look more defined, more even and more polished. This guide shows you how to apply lip liner step by step, how to choose the right shade, how to overline without it looking obvious, and how to fix the mistakes everyone makes.
Key Takeaways
- Prep first: exfoliated, moisturised lips are essential, because liner clings to dry skin and shows every flake.
- Choose a liner that matches your natural lip colour or your lipstick, never a shade dramatically darker than the lipstick.
- Line in short, light strokes from the centre outwards, starting with an X at the Cupid’s bow — never one long, heavy line.
- Fill the whole lip with liner before lipstick if you want colour to last; it acts as a base that grips the lipstick.
- Overline by no more than 1–2 mm outside your natural line, and only on the Cupid’s bow and the centre of the bottom lip, or it will look obvious.
In This Article
- Choosing the Right Lip Liner
- Step-by-Step: How to Apply Lip Liner
- How to Overline Lips Naturally
- Blending Lip Liner for a Soft, Modern Finish
- Lip Liner Mistakes to Avoid
- Frequently Asked Questions
Choosing the Right Lip Liner
Shade is the decision that matters most. For everyday wear, choose a liner that matches your natural lip colour — a “your lips but better” shade in rose, nude or mauve. It will define your lips without looking like makeup, and it works under any lipstick or gloss. For a bold lipstick, choose a liner that matches the lipstick as closely as possible. The old rule of a darker liner is exactly what creates the dated ring effect, so avoid it.
Formula matters too. Traditional pencils give the most control and the sharpest line, but they need sharpening and can drag on dry lips. Retractable pencils are convenient and usually creamier, though they cannot be sharpened to a fine point. Liquid and gel liners last longest and suit oily skin or long events, but they are less forgiving if you make a mistake. For beginners, a creamy retractable pencil in a nude-rose shade is the easiest starting point. Popular, widely available options include MAC Lip Pencil in Soar or Whirl, Charlotte Tilbury Lip Cheat in Pillow Talk, NYX Slim Lip Pencil in Nude Pink, and Rimmel Lasting Finish Lip Liner in Tiramisu, typically priced from £4 to £25 in the UK.
Undertone is the detail that separates a good match from a great one. If your skin has warm undertones, choose liners with peach or warm rose tones; if your skin is cool-toned, choose blue-based roses and berries. If you are unsure, hold the liner against your bare lip in daylight: the right shade should blend into your lip colour rather than sitting on top of it as a separate line.
Step-by-Step: How to Apply Lip Liner
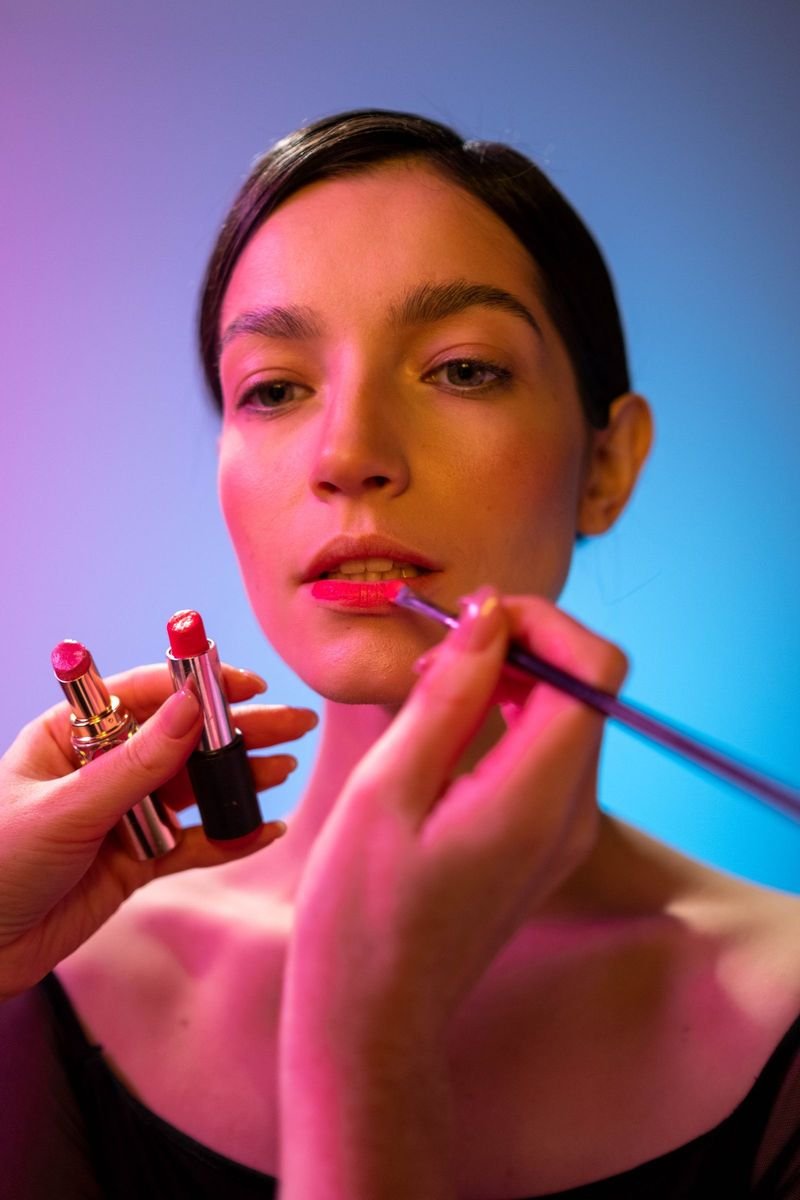
Step 1: Exfoliate gently. If your lips are flaky, liner will catch on every flake. Use a lip scrub or a damp flannel, gently buffing in small circles, then wipe away the residue. Do this no more than two or three times a week — over-exfoliating makes lips sore and more prone to flaking.
Step 2: Moisturise, then blot. Apply a thin layer of lip balm, as in our how to apply bronzer prep routine, and let it sink in for two or three minutes. Blot off any excess with a tissue before you line: a slippery, balmy surface makes liner slide and smudge. If your lips are very dry, apply balm the night before as well as in the morning.
Step 3: Sharpen and warm the pencil. A sharp pencil gives a precise line; a blunt one gives a thick, soft line that is harder to control. Draw a few squiggles on the back of your hand to warm the product and soften a freshly sharpened tip, which also stops it dragging on the lip.
Step 4: Mark the Cupid’s bow. Start at the centre of your top lip. Draw a small X at the two peaks of your Cupid’s bow. This gives you a symmetrical anchor point and makes the rest of the line much easier to keep even.
Step 5: Line the top lip outwards. From the Cupid’s bow, draw short, light strokes towards one corner, then repeat on the other side. Short strokes give you control; one long stroke almost always wobbles. Follow your natural lip line, or just a fraction outside it if you are overlining (see below).
Step 6: Line the bottom lip. Start at the centre of your bottom lip and work outwards to each corner in short strokes, just as you did on top. Connect the top and bottom lines neatly at the corners — a gap or overlap at the corner is where liner most often looks messy.
Step 7: Fill in for staying power. For a long-lasting look, lightly fill the whole lip with liner using the side of the pencil, or at least fill from the line inwards for a few millimetres. This creates a base that grips lipstick and means that even as lipstick wears off, you are left with colour rather than a bare ring.
Step 8: Apply lipstick or gloss. Apply your lipstick over the liner, then press your lips together once to blend. If you are wearing gloss, apply a thin layer over the filled-in liner. Blot once on a tissue, then apply a second thin layer of lipstick for maximum wear.
How to Overline Lips Naturally
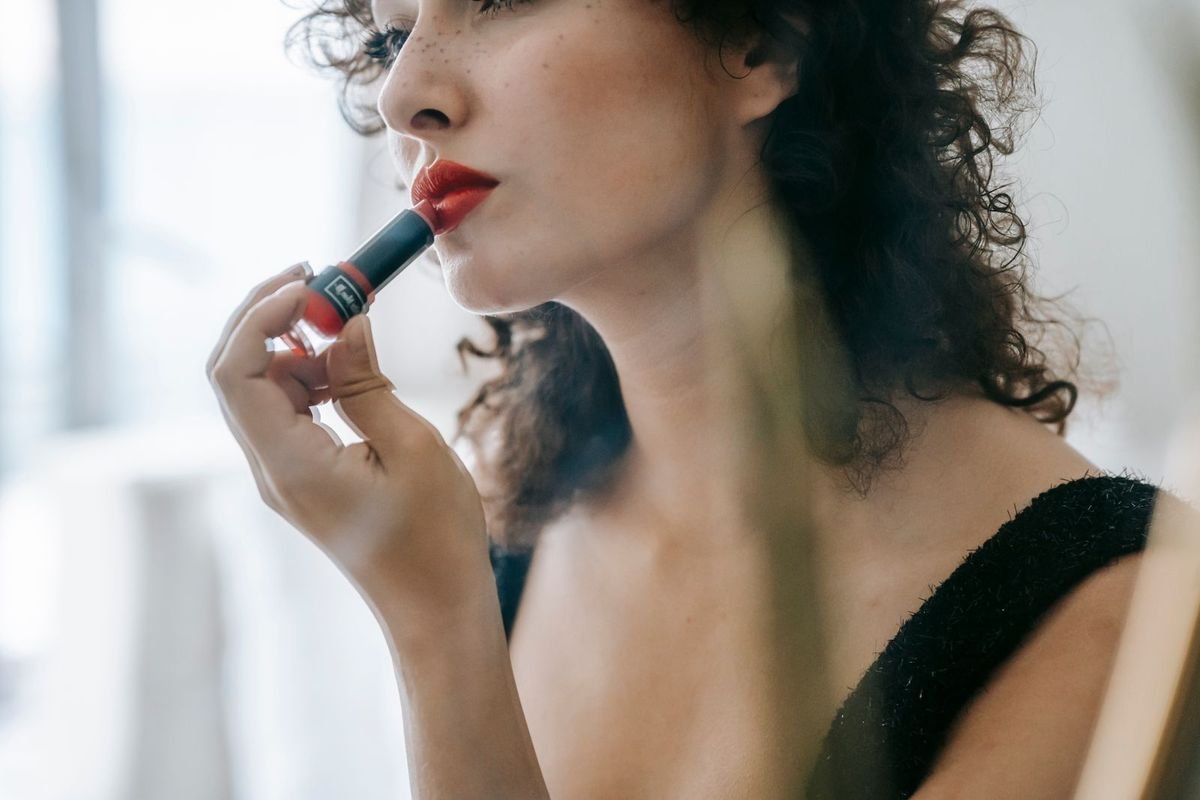
Overlining works when it is subtle and selective. The mistake is overlining the whole lip evenly, which looks drawn-on from any distance. Instead, overline only where lips naturally look fuller: the Cupid’s bow on the top lip and the centre of the bottom lip. Keep the corners exactly on your natural line, because overlining the corners is what makes lips look cartoonish.
Draw no more than 1–2 mm outside your natural line, and use a shade that matches your lipstick closely. After lining, blend the line slightly inwards with your fingertip or a small brush so there is no hard edge. Then apply lipstick over the whole area, including the overlined part, so the liner and lipstick read as one colour. A dab of slightly lighter lipstick or gloss in the centre of the lips adds dimension and makes the fuller shape look natural rather than flat.
If you have thin lips, overlining plus a lighter centre colour is the most effective combination. If you have full lips already, you probably do not need to overline at all — a precise natural line and a filled-in base will give you definition without extra size. For asymmetric lips, you can overline just the thinner side by a millimetre to balance the shape, which is a trick makeup artists use constantly.
Blending Lip Liner for a Soft, Modern Finish
The modern lip look is blended, not outlined. After lining, take a small lip brush, a cotton bud or your fingertip and soften the line by blending it inwards towards the centre of the lip. This removes any hard edge and creates a gradient that looks like a natural lip shadow rather than a drawn line. It is also the best fix if your liner shade is slightly darker than your lipstick: blending makes the transition invisible.
For a blurred, “just bitten” look, line and fill the lips, then use your fingertip to press and diffuse the colour outwards, and finish with a dab of balm or gloss in the centre. For a long-wearing matte look, fill the whole lip with liner, blot, apply matte lipstick, and skip gloss entirely — see also our soft glam makeup and smokey eye makeup guides for the full face. For an ombre effect, line with a deeper shade, fill the centre with a lighter lipstick, and blend where the two meet with a brush.
Related: for a complete lip routine, see our lip gloss guide and concealer tips.
Lip Liner Mistakes to Avoid
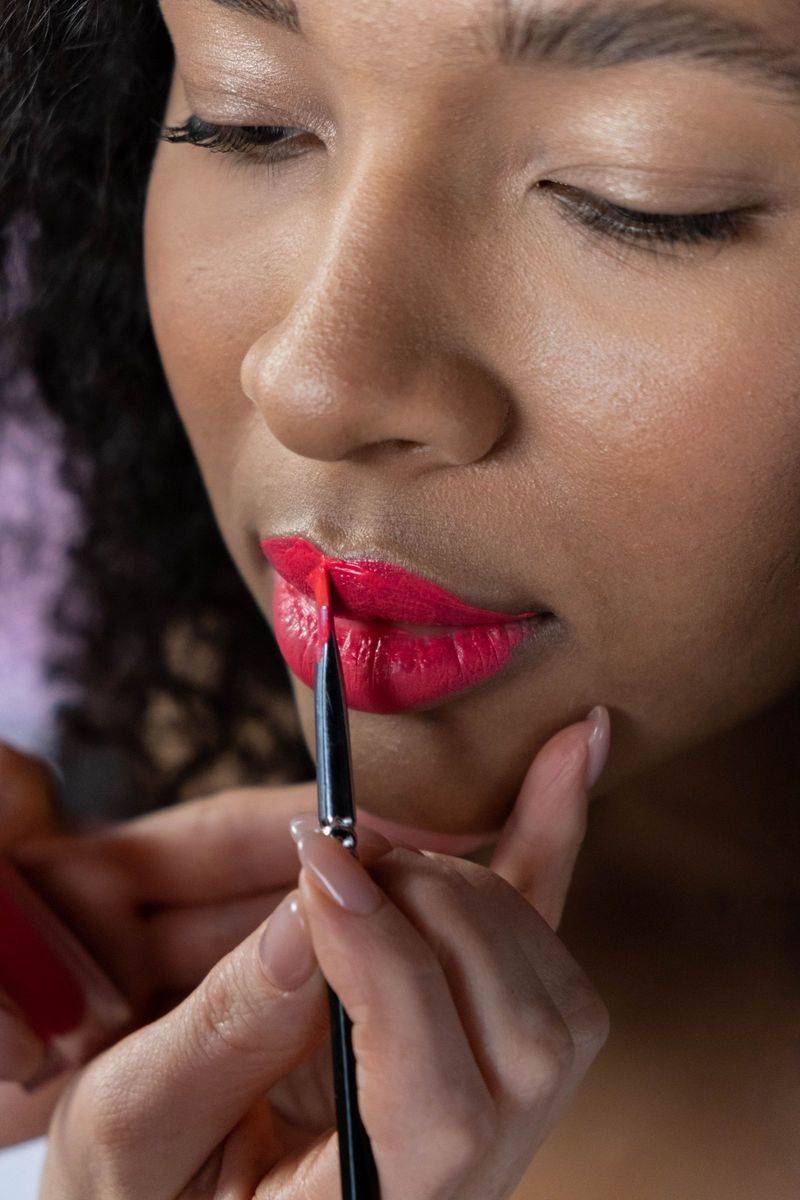
The number one mistake is a liner dramatically darker than the lipstick, which recreates the dated ring effect as soon as the lipstick wears down. Always match the liner to the lipstick or to your natural lip colour. The second mistake is lining on dry, flaky lips without prep: no liner can look good over flakes, so exfoliate and moisturise first, every time.
A third mistake is pressing too hard. A heavy hand gives a thick, waxy line that is hard to blend and easy to smudge. Light pressure and short strokes always look better, and you can build up colour gradually. A fourth mistake is overlining the corners or overlining by more than 2 mm, which looks obvious in daylight and in photos. Finally, do not skip the corners: lines that stop short of the corners, or that overlap messily there, are the most visible sign of rushed application. Take an extra few seconds at the corners and the whole look improves.
To clean up mistakes, use a small flat brush or cotton bud dipped in a tiny amount of concealer or micellar water, and trace just outside the line to sharpen it. Do not try to wipe a mistake away with your finger, which usually smears it further. For further expert guidance, see how to use lip liner at NYX and how to apply lip liner at Revlon.
Frequently Asked Questions
Should lip liner match your lipstick or your lips?
Either, but never a shade darker than both. Match your natural lip colour for everyday wear, or match your lipstick for bold colours. The liner should disappear into the overall lip colour, not stand out as a separate ring.
Do you apply lip liner before or after lipstick?
Before. Line and optionally fill the lips with liner first, then apply lipstick over it. The liner acts as a base that defines the shape and helps the lipstick last longer.
How do you make lip liner last all day?
Fill the whole lip with liner, blot, apply lipstick, blot again, and apply a second thin layer of lipstick. Avoid very glossy finishes if longevity matters, and touch up only the centre of the lips rather than re-lining the whole shape.
Can you wear lip liner on its own?
Yes. A nude or rose liner filled across the whole lip, topped with a little balm, gives a soft matte lip colour that lasts well. It is a good low-maintenance option for everyday wear.
How much does a good lip liner cost?
Drugstore lip liners cost £4–£8, mid-range brands £15–£25, and luxury liners £25–£35. A £5–£10 creamy pencil in a nude-rose shade is usually all most people need.
How do you overline lips without it looking obvious?
Overline by only 1–2 mm, and only on the Cupid’s bow and the centre of the bottom lip. Keep the corners on your natural line, blend the edge inwards, and apply lipstick over the overlined area so it reads as one colour.
How often should you sharpen a lip pencil?
Sharpen before each use if you want a precise line, or at least whenever the tip becomes rounded. A sharp tip is the single easiest way to improve your liner application.
Business Outstanders is a UK fashion editorial team covering women’s style, beauty and occasion dressing. Our guides are researched from current high-street and designer collections and updated each season.