20ChristmasTreeNailsIdeasfor2026
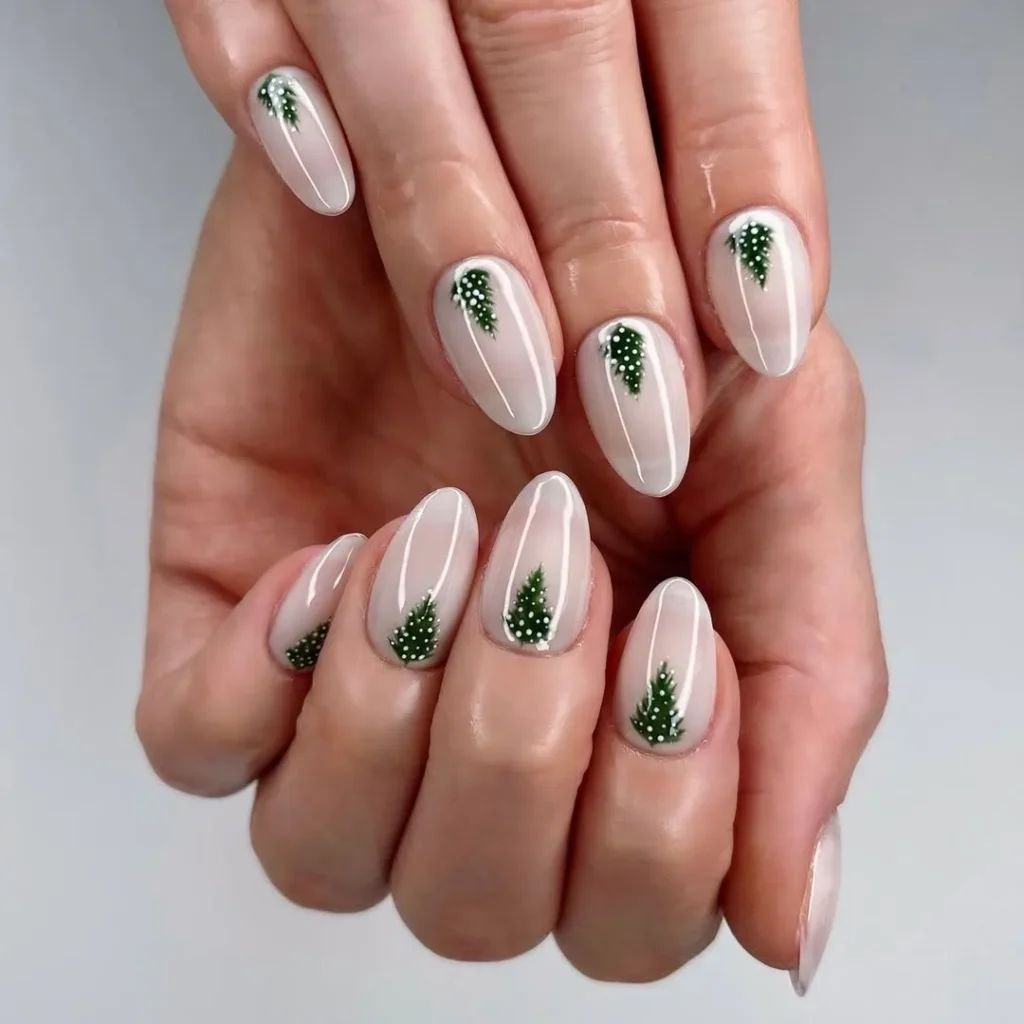
Table of Contents
Of all the festive nail designs, the Christmas tree is the most searched — and the most fun to wear. A tiny evergreen on a nude nail, an emerald tree with a gold star, a glittering gold design or a minimalist outline: the motif works on every nail length and every skin tone, and it suits a work party, Christmas Day and New Year’s Eve alike. This guide covers 20 Christmas tree nails ideas for 2026, plus the step-by-step technique, costs and how long a gel set lasts.
Whether you book a salon appointment or paint them at home, the secret is the same: one or two statement nails, a clean base, and a top coat that protects the design. For more festive inspiration, Green Wedding Shoes’ Christmas nails designs and ideas is a lovely gallery to browse alongside this guide.
Key Takeaways
- One accent nail is the easiest way to wear a Christmas tree design — a tiny tree on the ring finger, with plain nails elsewhere.
- Emerald green with a gold star is the classic combination, while nude and gold suits a more minimal look.
- A gel set lasts around 21 days, so book your appointment a few days before your main Christmas event.
- Christmas tree nails work on short nails too — use a smaller, simpler tree and keep the rest of the nail plain.
- Salon nail art costs £35 to £65 for a full set, while a DIY version costs under £15 in polishes and tools.
In This Article
- Single Accent-Nail Tree on Nude
- Emerald Tree Nails with a Gold Star
- Gold Glitter Tree Designs
- Minimalist Tiny-Tree Looks
- Short-Nail Christmas Tree Designs
- How to Paint a Christmas Tree Nail: Step by Step
- Frequently Asked Questions
Single Accent-Nail Tree on Nude
The accent-nail tree is the most wearable version of this design: nine plain nails and one tiny evergreen on the ring finger. A nude or sheer pink base keeps the look elegant, the tree adds the festive touch, and the whole manicure suits work, parties and Christmas Day. It is also the easiest design to paint at home.
1. Tiny evergreen tree on a nude ring finger
A nude base with a single tiny evergreen tree on the ring finger is the classic accent-nail look. Paint the tree with a thin brush in a deep green, add a gold dot for the star and a few white dots for baubles, then seal with a glossy top coat. The other nine nails stay plain nude, so the design feels elegant rather than busy.
2. Accent tree with a gold star and red baubles
Build on the classic with a gold star at the top of the tree and three tiny red dots as baubles. The red and gold pop against the nude base and the deep green tree, and the design reads as festive without being childish. This is a good choice for a work Christmas party, where you want the design to be noticed but not overwhelming.
3. Accent tree on a sheer pink base with glitter tips
A sheer pink base with a green tree on the ring finger and a fine gold glitter tip on the other nails is a soft, feminine take on the trend. The glitter tips catch the light, the pink base keeps the look wearable, and the tree is the only festive element. For more seasonal ideas, see our holiday nails guide.
4. Accent tree with a snowy white tip
A French-style white tip with a tiny green tree on the ring finger is a fresh, wintry combination. The white tip reads as snow, the green tree stands out against it, and the rest of the nail stays a natural nude. Add a single gold dot as the star and the design is complete — simple, clean and very wearable.
Emerald Tree Nails with a Gold Star
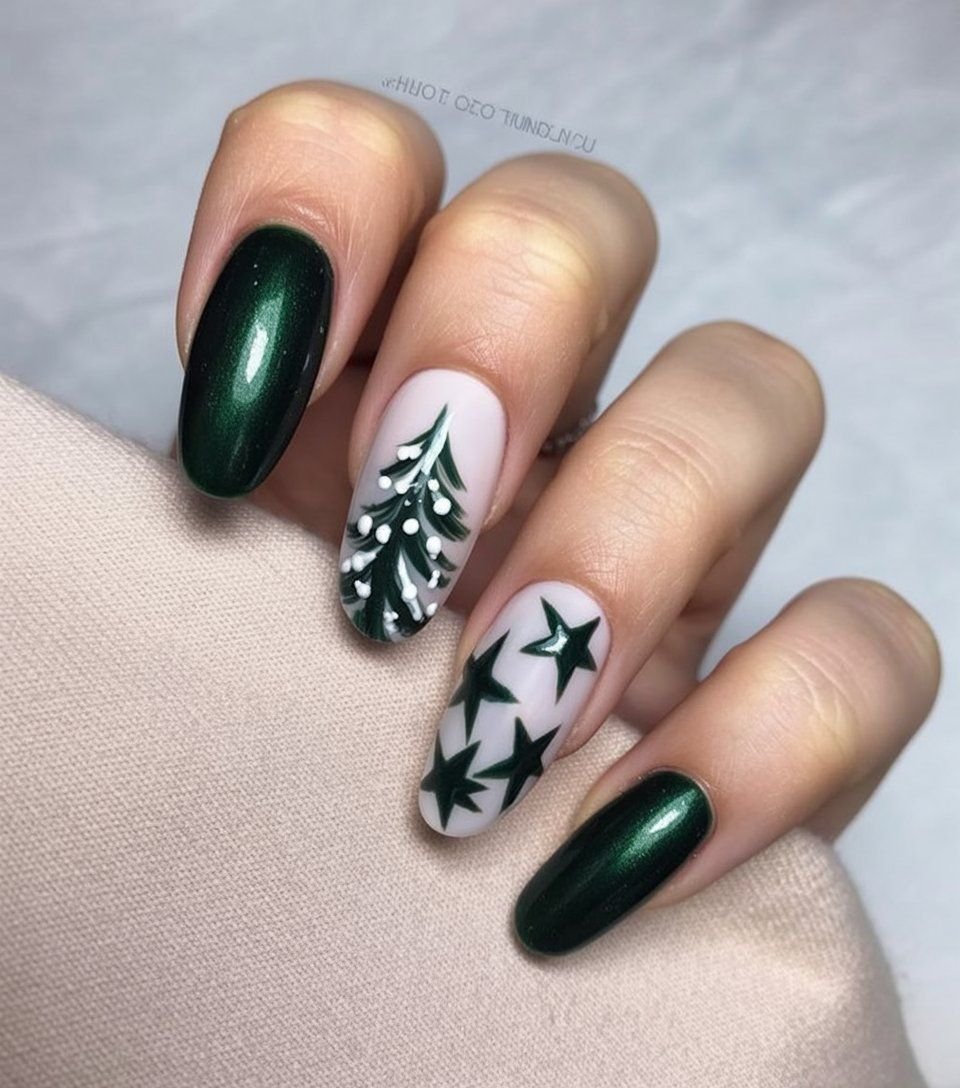
Emerald green is the tree colour that photographs best, and it pairs perfectly with gold. Whether you paint a full emerald tree on every nail or keep the emerald to one or two accent nails, the deep green reads as rich and festive — and it suits every skin tone. Add a gold star and the design is unmistakably Christmas.
5. Emerald trees on every nail with gold stars
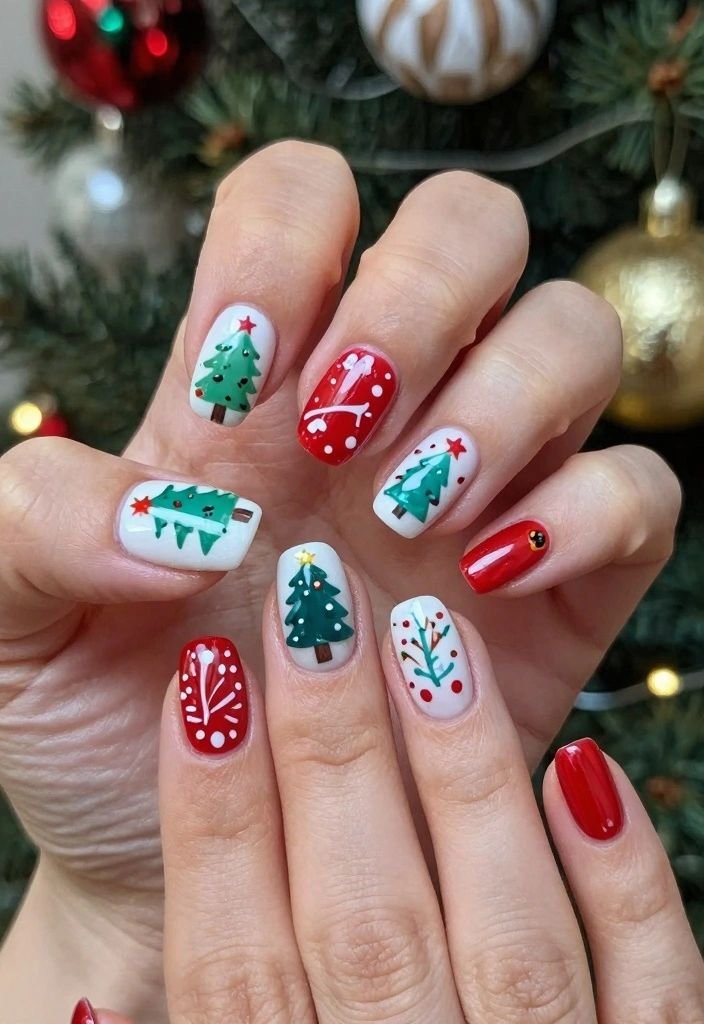
The boldest look in this guide: a small emerald tree on every nail, each topped with a gold star, on a nude or deep red base. It is festive, fun and unmistakably Christmas — best for the party season rather than the office. Keep the trees small and neat so the design does not overwhelm short nails.
6. Emerald tree with gold garland swirls
A single emerald tree with a thin gold garland swirling around it is a more detailed, salon-worthy design. The gold swirl adds movement and sparkle, and the emerald tree keeps it grounded. Ask your nail technician for a fine liner brush, or use a gold striping polish at home for the same effect.
7. Emerald and gold ombre tree nails
An ombre base that fades from deep emerald at the tip to nude at the cuticle, with a gold star and a tiny tree outline on the accent nail, is a modern, gradient take on the trend. The ombre adds depth, the gold star adds sparkle, and the overall effect is softer than a solid emerald nail. Pair it with a chocolate suede manicure on the other hand for a two-tone festive look.
8. Emerald tree with white snow dots
White dots scattered over an emerald tree read as snow, and they soften the strong green beautifully. Paint the tree in emerald, add a gold star, then dot white polish over the tree and the base of the nail for a snowy effect. A matte top coat over the design gives it a soft, velvety finish that suits the season.
Related: 25 Christmas Nail Designs
Gold Glitter Tree Designs
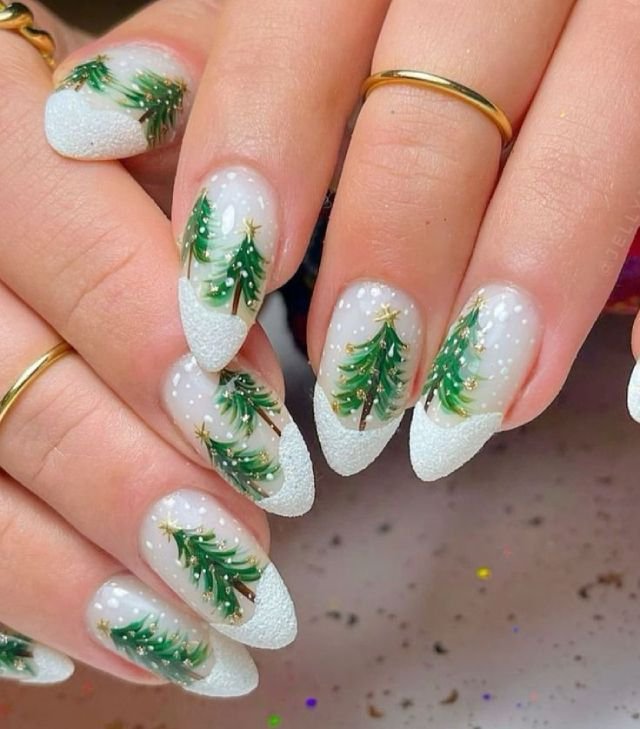
Gold glitter is the easiest way to make a Christmas tree design feel glamorous. A gold glitter tree on a dark base, a gold tree outline on nude, or a full glitter gradient — all of them catch the light at a party and photograph beautifully. Gold glitter also hides small mistakes, which makes it the most forgiving design for beginners.
9. Gold glitter tree on a deep green base
A gold glitter tree painted over a deep green base is the most glamorous combination in this guide. The green base makes the gold pop, the glitter catches the light, and a gold star finishes it off. This is a party design — wear it for Christmas Eve, New Year’s Eve or a festive night out.
10. Gold tree outline on a nude base
A thin gold outline of a tree on a nude base is a delicate, jewellery-like design. Use a fine gold striping polish or a gold nail art pen to draw the outline, add a tiny gold star, and seal with a glossy top coat. The result is subtle enough for work and pretty enough for a party.
11. Gold glitter gradient with a tree accent
A gold glitter gradient — dense at the tip, fading towards the cuticle — with a small green tree on the ring finger is a festive look that still feels grown-up. The gradient adds sparkle without covering the whole nail, and the tree is the only literal Christmas element. For a similar festive feel, see our candy cane nails.
12. Gold foil tree on a burgundy base
Gold foil pressed into a tree shape on a burgundy base is a rich, textured design that suits a formal Christmas party. The burgundy base is deep and elegant, the gold foil adds a luxe, irregular shine, and the combination is one of the most sophisticated in this guide. A matte top coat over the foil gives it a modern finish.
Minimalist Tiny-Tree Looks
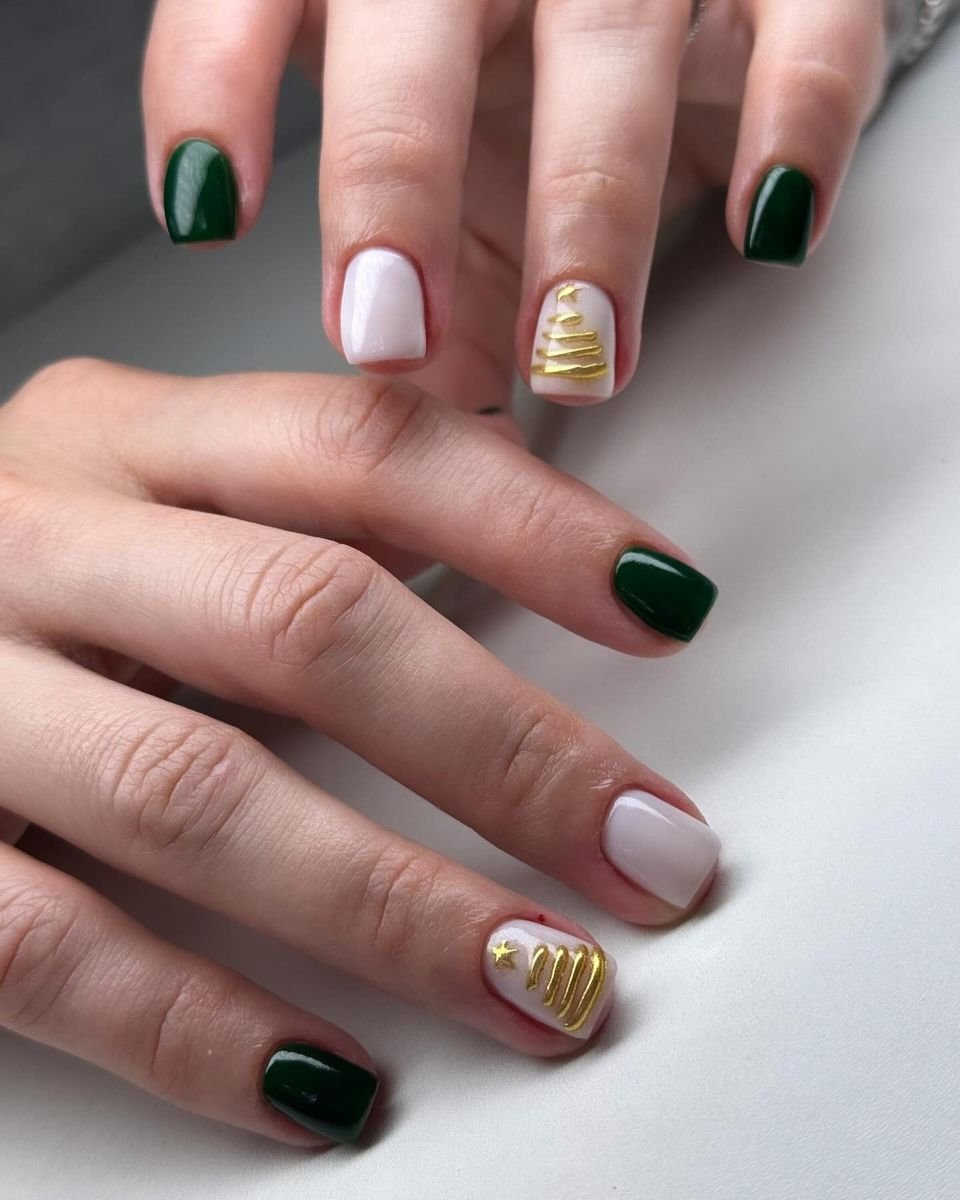
Minimalist Christmas tree nails are the quietest version of the trend — a single fine line, a tiny triangle, a dot-and-line tree — and they suit anyone who wants a festive manicure without the glitter. They work on every nail length, they are quick to paint, and they are the most office-friendly designs in this guide.
13. Single-line tree outline in deep green
A tree drawn as a single continuous line in deep green on a nude base is the simplest design in this guide — and one of the prettiest. The line-art style feels modern and graphic, and it takes minutes to paint with a fine liner brush. Add a single gold dot as the star and the design is done.
14. Tiny triangle tree in gold on a nude nail
A tiny gold triangle with a short trunk line is the most minimal tree you can paint, and it works beautifully as a repeated motif on every nail. The gold keeps it festive, the small scale keeps it subtle, and the design suits short nails and a professional workplace. Pair it with a snowflake nail design on one accent nail for a complete winter look.
15. Dot-and-line tree in black and gold
A tree made of three dots decreasing in size, joined by a thin line, in black and gold on a nude base is a graphic, modern design. The dots read as baubles, the line reads as the tree, and the black and gold palette is elegant rather than cute. This is a good choice for a minimalist who still wants a festive manicure.
16. Negative-space tree on a clear base
A negative-space design — a tree shape left unpainted on a clear or sheer base, outlined in green — is the most modern look in this guide. The bare nail shows through the tree shape, the outline defines it, and the overall effect is light and contemporary. It is also the easiest design to grow out, since there is no solid colour at the cuticle.
Short-Nail Christmas Tree Designs
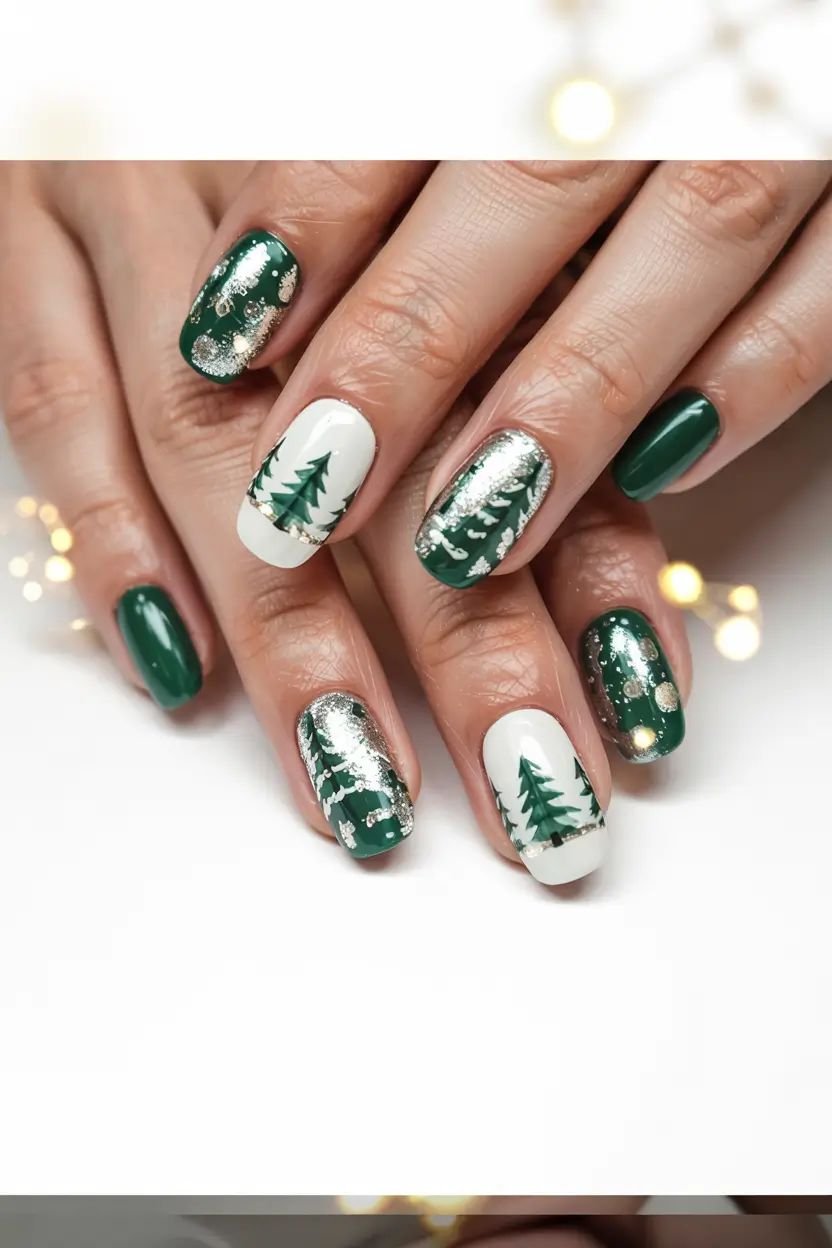
Christmas tree nails work beautifully on short nails — the key is to keep the tree small and the design simple. A tiny tree on one nail, a small gold star, or a single green triangle is all a short nail needs. Avoid large, detailed trees on short nails, as they crowd the nail and look messy.
17. Tiny tree on a short nude nail
A tiny green tree with a gold star on a short nude nail is the perfect short-nail design. Keep the tree to the lower two-thirds of the nail, leave the cuticle area clear, and seal with a glossy top coat. The design is neat, proportionate and easy to paint at home. For more short-nail ideas, see our short nail designs.
18. Short red nails with a gold tree accent
Short nails painted a classic Christmas red, with a single gold tree outline on the ring finger, are festive, chic and very easy to wear. The red is the statement, the gold tree is the detail, and the short length keeps the look practical for typing, cooking and everyday life over the festive season.
19. Short green nails with gold star tips
Short nails in deep emerald green with a tiny gold star at the tip of each nail — or just the ring finger — are a simple, elegant festive look. The green is the Christmas colour, the gold star is the tree reference, and the short length makes it wearable for work. A glossy top coat makes the green look rich and polished.
20. Short nails with a glitter tree and matte base
A matte nude base with a small gold glitter tree on the ring finger is a textural contrast that works particularly well on short nails. The matte base keeps the look modern, the glitter tree adds the festive sparkle, and the small scale suits the shorter nail bed. Finish with a matte top coat on the plain nails and a glossy top coat over the tree.
How to Paint a Christmas Tree Nail: Step by Step
Painting a Christmas tree nail at home is easier than it looks. You need a base coat, a nude or sheer base colour, a deep green polish, a gold polish or a gold dotting tool, a thin nail art brush, and a glossy top coat. The whole design takes about 20 minutes for a full set, plus drying time.
- Step 1 — Base coat: Apply a base coat and let it dry completely. This protects the nail and helps the design last.
- Step 2 — Base colour: Apply two thin coats of a nude or sheer pink polish and let them dry fully before you start the tree.
- Step 3 — Triangle technique: With a thin brush, paint three triangles stacked on top of each other, each smaller than the one below, to form the tree. Start at the cuticle and work towards the tip.
- Step 4 — Trunk and star: Add a short brown trunk line at the base of the tree, then a gold dot or a tiny gold star at the top.
- Step 5 — Baubles: Add three or four tiny dots in red, gold or white as baubles, keeping them small and evenly spaced.
- Step 6 — Top coat: Seal the whole nail with a glossy top coat, wrapping the free edge to prevent chipping. Reapply top coat every two to three days to extend the wear.
A gel set lasts around 21 days, which makes it the best choice if you want your Christmas tree nails to survive the whole festive season — book your appointment a few days before your main event so the set is fresh. A regular polish design lasts five to seven days with a good top coat. For more at-home festive ideas, see Semilac’s guide to Christmas nails 2026 at home.
On cost, a salon gel set with nail art costs £35 to £65 depending on the salon and the complexity of the design, and the appointment takes 60 to 90 minutes. A DIY version costs under £15 in polishes and tools if you already own a base and top coat, and takes 20 to 30 minutes at home. A BIAB manicure is a good middle ground — it strengthens the natural nail and holds nail art well for around three weeks.
Frequently Asked Questions
How long do Christmas tree gel nails last?
A gel set lasts around 21 days with proper care, so book your appointment a few days before your main Christmas event. Regular polish designs last five to seven days. Reapply top coat every two to three days to extend the wear.
How much do Christmas tree nails cost at a salon?
A salon gel set with nail art costs £35 to £65 depending on the salon and the complexity of the design, and the appointment takes 60 to 90 minutes. A DIY version costs under £15 in polishes and tools if you already own a base and top coat.
Can you do Christmas tree nails on short nails?
Yes. Keep the tree small and simple — a tiny tree on one accent nail, a small gold star, or a single green triangle. Avoid large, detailed trees on short nails, as they crowd the nail and look messy.
Are Christmas tree nails suitable for work?
Yes, if you keep them subtle. A single accent-nail tree on a nude base, or a minimalist line-art tree, is office-friendly. Save full glitter trees and bold designs for parties and days off.
How long does it take to paint Christmas tree nails?
A DIY design takes 20 to 30 minutes for a full set, plus drying time. A salon appointment with nail art takes 60 to 90 minutes. Allow extra time for your first attempt — the triangle technique gets easier with practice.
What colours work best for Christmas tree nails?
Emerald green with gold is the classic combination. Deep green with red baubles, gold glitter on a dark base, and nude with a gold tree outline are all good options. Burgundy and forest green bases also work well.
How do you remove Christmas tree gel nails?
Soak gel nails in acetone for 10 to 15 minutes, then gently push the softened gel off with an orange stick. Never peel gel off, as it damages the natural nail. Most salons offer removal for £5 to £15, or free with a new set.
About Business Outstanders: This guide was researched and written by the Business Outstanders editorial team, who cover beauty, nails and festive styling for UK readers. Our nail articles focus on practical, wearable designs with clear how-to steps, costs and wear times.